Folk Art Landscape Artwork With Posca Pens
Oct 22, 2022Want to know something that all kids love to do - painting and patterns! Folk Art is a perfect place to combine these two things whilst studying a very cool artist called Heather Galler. The first time I saw her bold, vibrant artworks I felt like painting straight away. The combination of patterns, shapes and playful colours in her artworks has a ‘child-like’ feel, it even appears ‘easy’ to try for yourself. So we did!
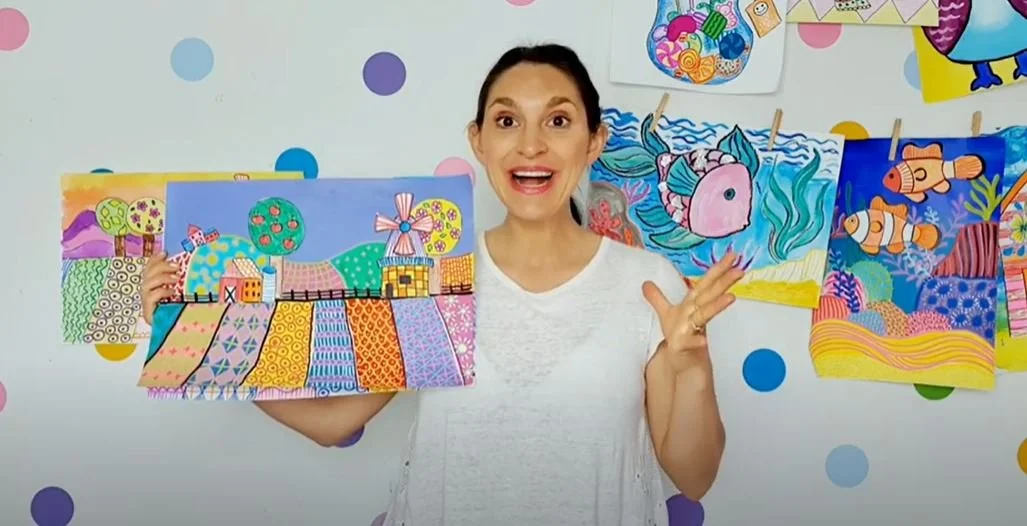
In this lesson we take a look at Folk Art and the work from New York artist Heather Galler. We talked about the difference between a ‘motif’ and a ‘pattern’ and became familiar with the term ‘horizon line’. Our landscape project involved painting a background and topping it off with posca paint pen patterns. I LOVED using posca’s on top of paint - the colours remained vibrant and bright. But if you can’t get your hands on posca’s then using markers and crayons or watercolour paints would work well too.
Next I guided students through some ideas of elements to put in their farm scene - windmills, sheep, barns and trees. These are things Heather Galler often uses in her artworks to so it was handy to re-look at her examples. To get you started with some farm drawings I’ve created a printable with some line drawing designs ready to colour in. This makes it easier for younger artists or is helpful to have printed in the classroom as inspiration. You can download the free FARM DRAWING PRINTABLE below.
It was fun to include painting, drawing, collage and an artist study all within the same lesson. It took my Little Artists two sessions to complete their masterpieces because we had to let the paint dry, but you could complete this project using just coloured markers & crayons on A4 paper to speed up the process. If you love the look of this project and want to share the full length video lesson with your Little Artists then pop on over to find in the Art Club or Paint Party Art Bundle.

ART SUPPLIES:
-
A3 Art Paper x 2
-
Acrylic Paint
-
Medium Flat Paint Brush
-
Posca Paint Pens or Chalk Markers
-
Crayons and Markers
-
Sharpie Marker
-
Scissors and Glue
LANDSCAPE BACKGROUND
STEP 1.
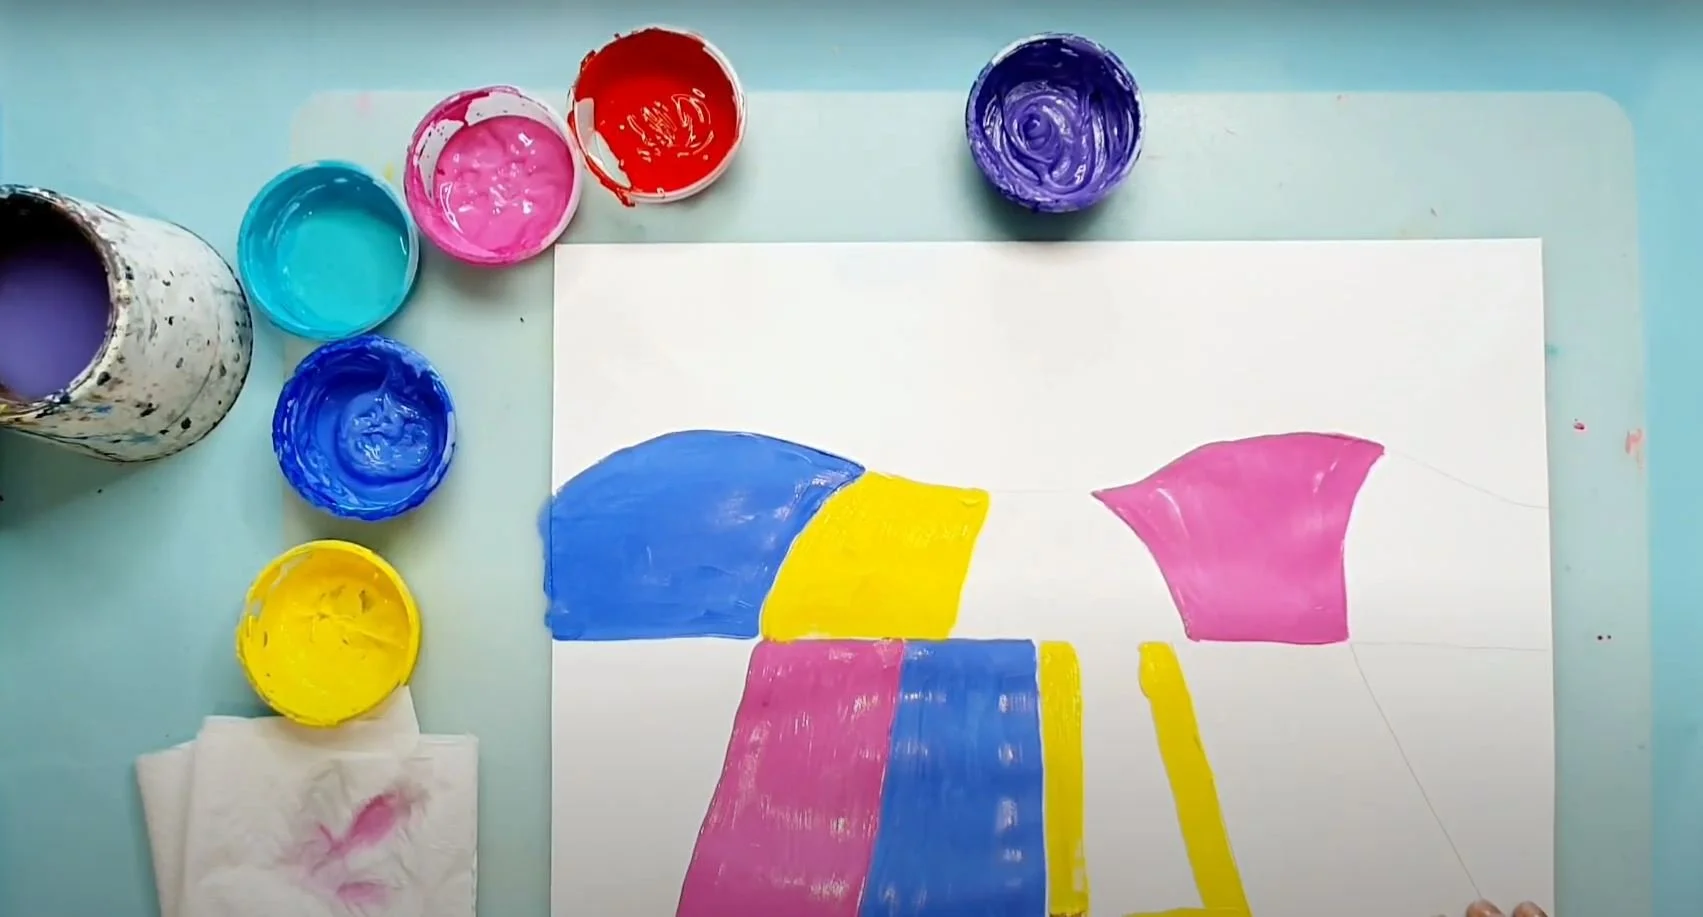
Varying the placement of your class’s horizon line will make each artwork unique. A higher horizon line will give your artwork more fields, a lower horizon will have more sky. I did a quick sketch to show Little Artists the difference, and then placed my line right in the middle. After Little Artists decided where they wanted to place their horizon line we then divided the lower half of the page into fields and use wavy lines to add some hills.
STEP 2.
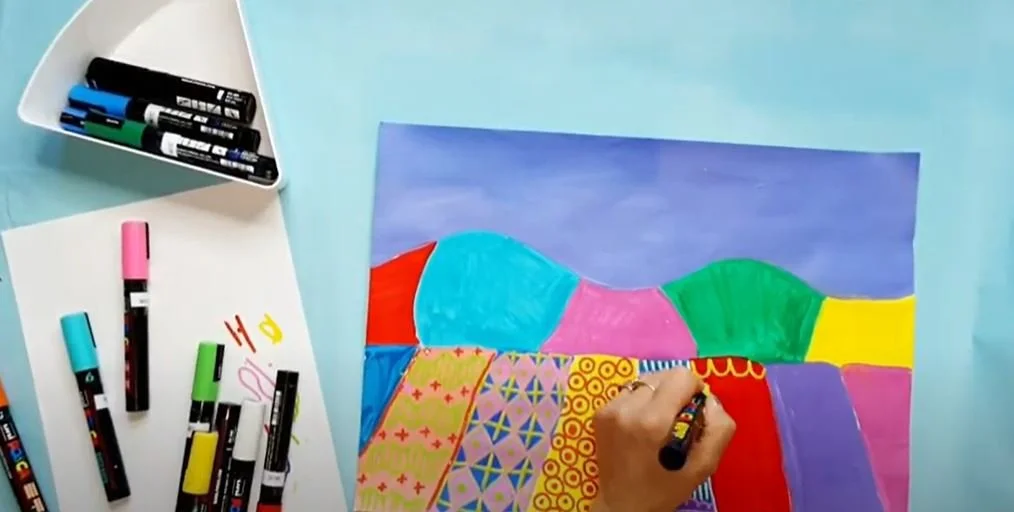
Mix up some paints! Heather Galler used quite modern and vibrant colour schemes in her paintings. Brilliant blues, bright pinks, ruby red and pastels all work together to create a fun and playful base layer for your landscape. Put on some bopping music and carefully paint each section of your fields, hills and sky with a flat paint brush. Leave to dry. (While your waiting for your artwork to dry you can jump over and start drawing your farm scene. )
STEP 3.
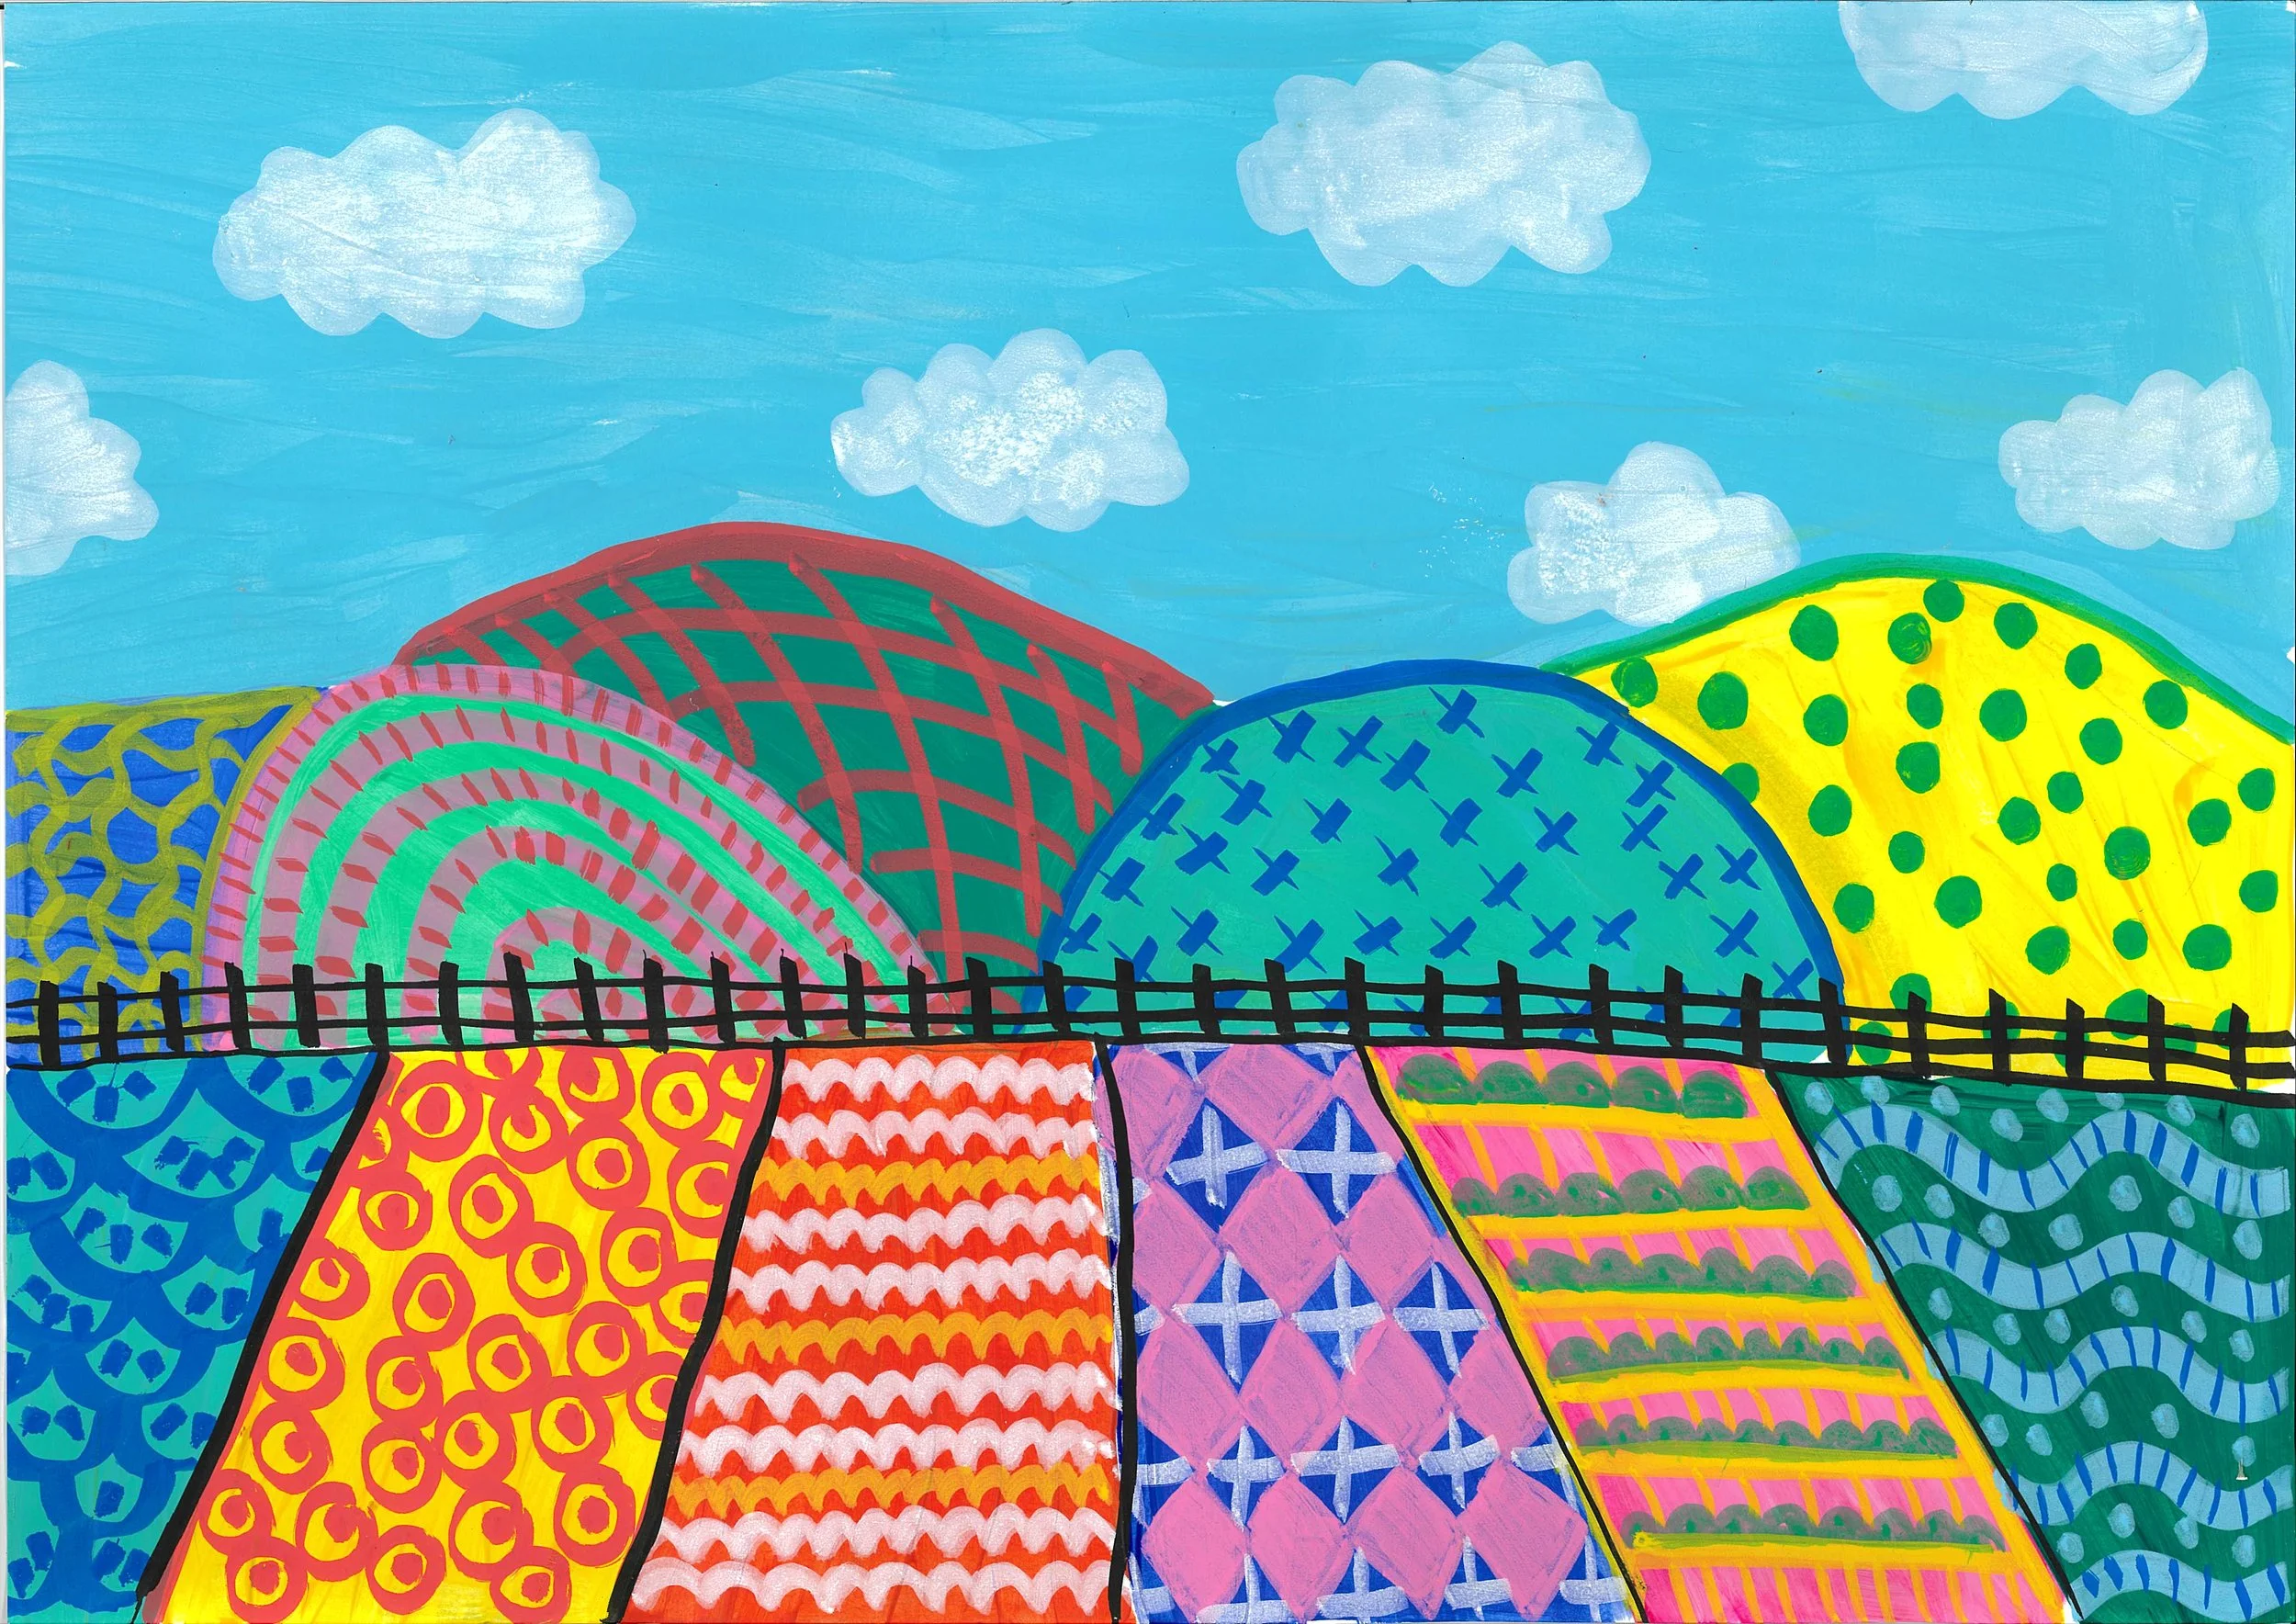
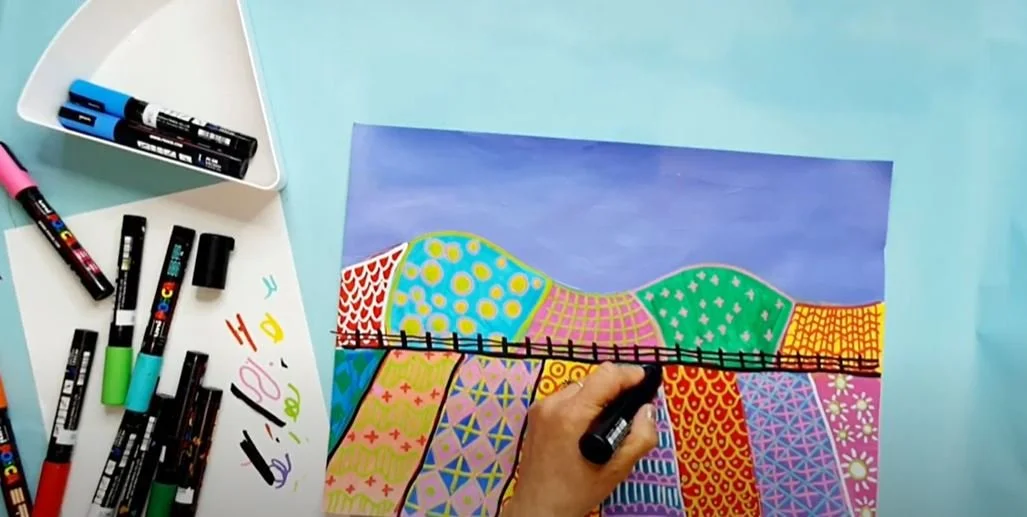
We are ready to pull out our posca pens (or chalk markers) and turn this plain landscape into fields of beautiful patterns. I like to think of these folk art fields like a patchwork quilt. Each section in your field and rolling hills can be filled with a different pattern and colour. Use your posca pens to add stripes, swirls, polk dots, scales and zig zag designs. It’s fun to use contrasting colours so your patterns stand out. If your finding your posca pen ink is a little cluggy or not running smoothly then give it a few pumps on a spare piece of paper and practice drawing.
STEP 4.
This step is optional, but I found a black boarder and fence on the horizon line really defined the patterned fields and made them pop off the page. Grab a black posca and draw over the horizon then add a little fence. Also outline each section of the field.
THE FARM SCENE
STEP 5.
While your background is drying grab another piece of paper and a sharpie marker and begin thinking about what elements you will add to your landscape. It’s helpful to take a look at the trees and barns in Heather Galler’s paintings. She used simple shapes which is perfect for Little Artists to copy. A few trees can be draw using just a circle and rectangle & a few different sized buildings with a square and triangle roof. A bigger building for a barn with a ‘X’ on the door and some silos to the side is perfect for a farm scene too.
If you need a little head start or inspiration on your designs I have put together some printable farm scene drawings to add to your landscape. You can download the printable here, then have some fun adding colour.
STEP 6.
Add colour to your farm drawings with markers and crayons, then cut them out.
STEP 7.
The final step is to arrange the farm drawings onto top of the landscape. I had fun moving the trees along the horizon line and placing my smallest buildings on the hills to create distance. You can cluster your drawings to one side or space them out to create balance. Once you have the perfect position then glue each drawing to the page.
If you love the look of this project and want to share the full length video lesson with your Little Artists then pop on over to find in my Paint Party Art Bundle. It is also part of my You can Online Art Club for kids. Once you are a member all you have to do is set your Little Artist up with their supplies, choose a project and press play to create along with me and access over 50 more paint-along video art lessons to do at home. Checkout these gorgeous Little Artists inside the Art Club.


