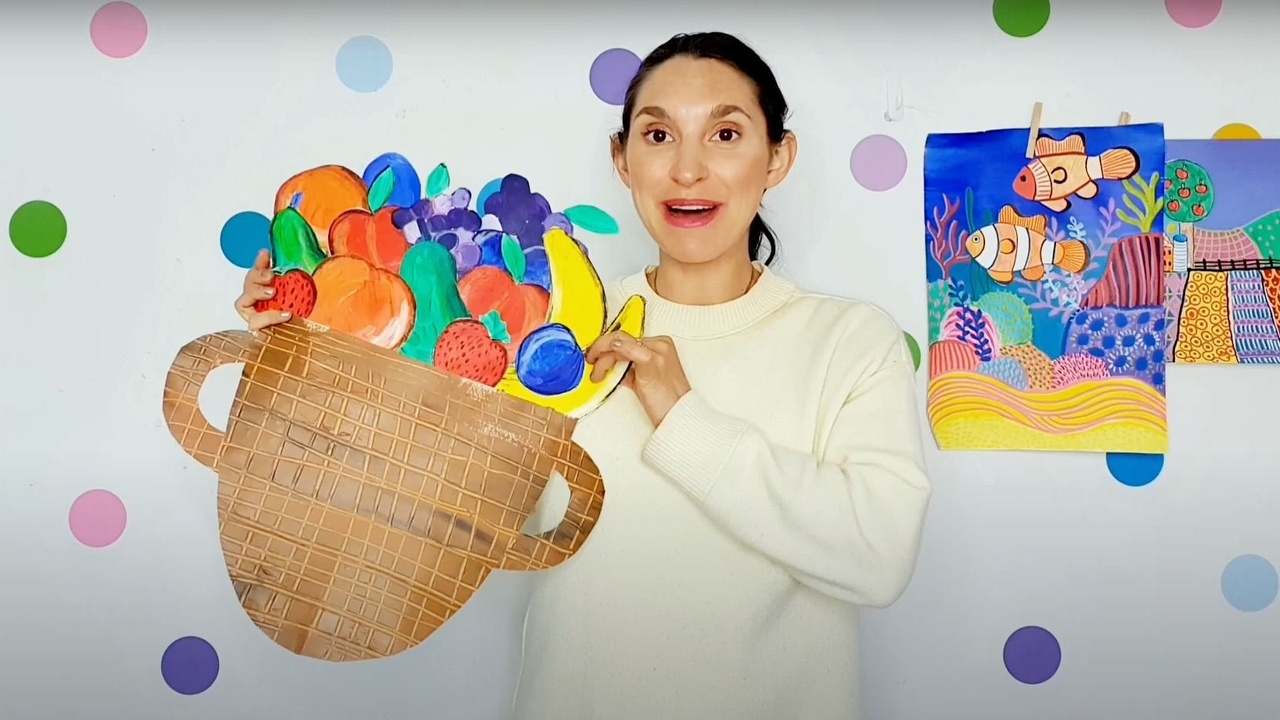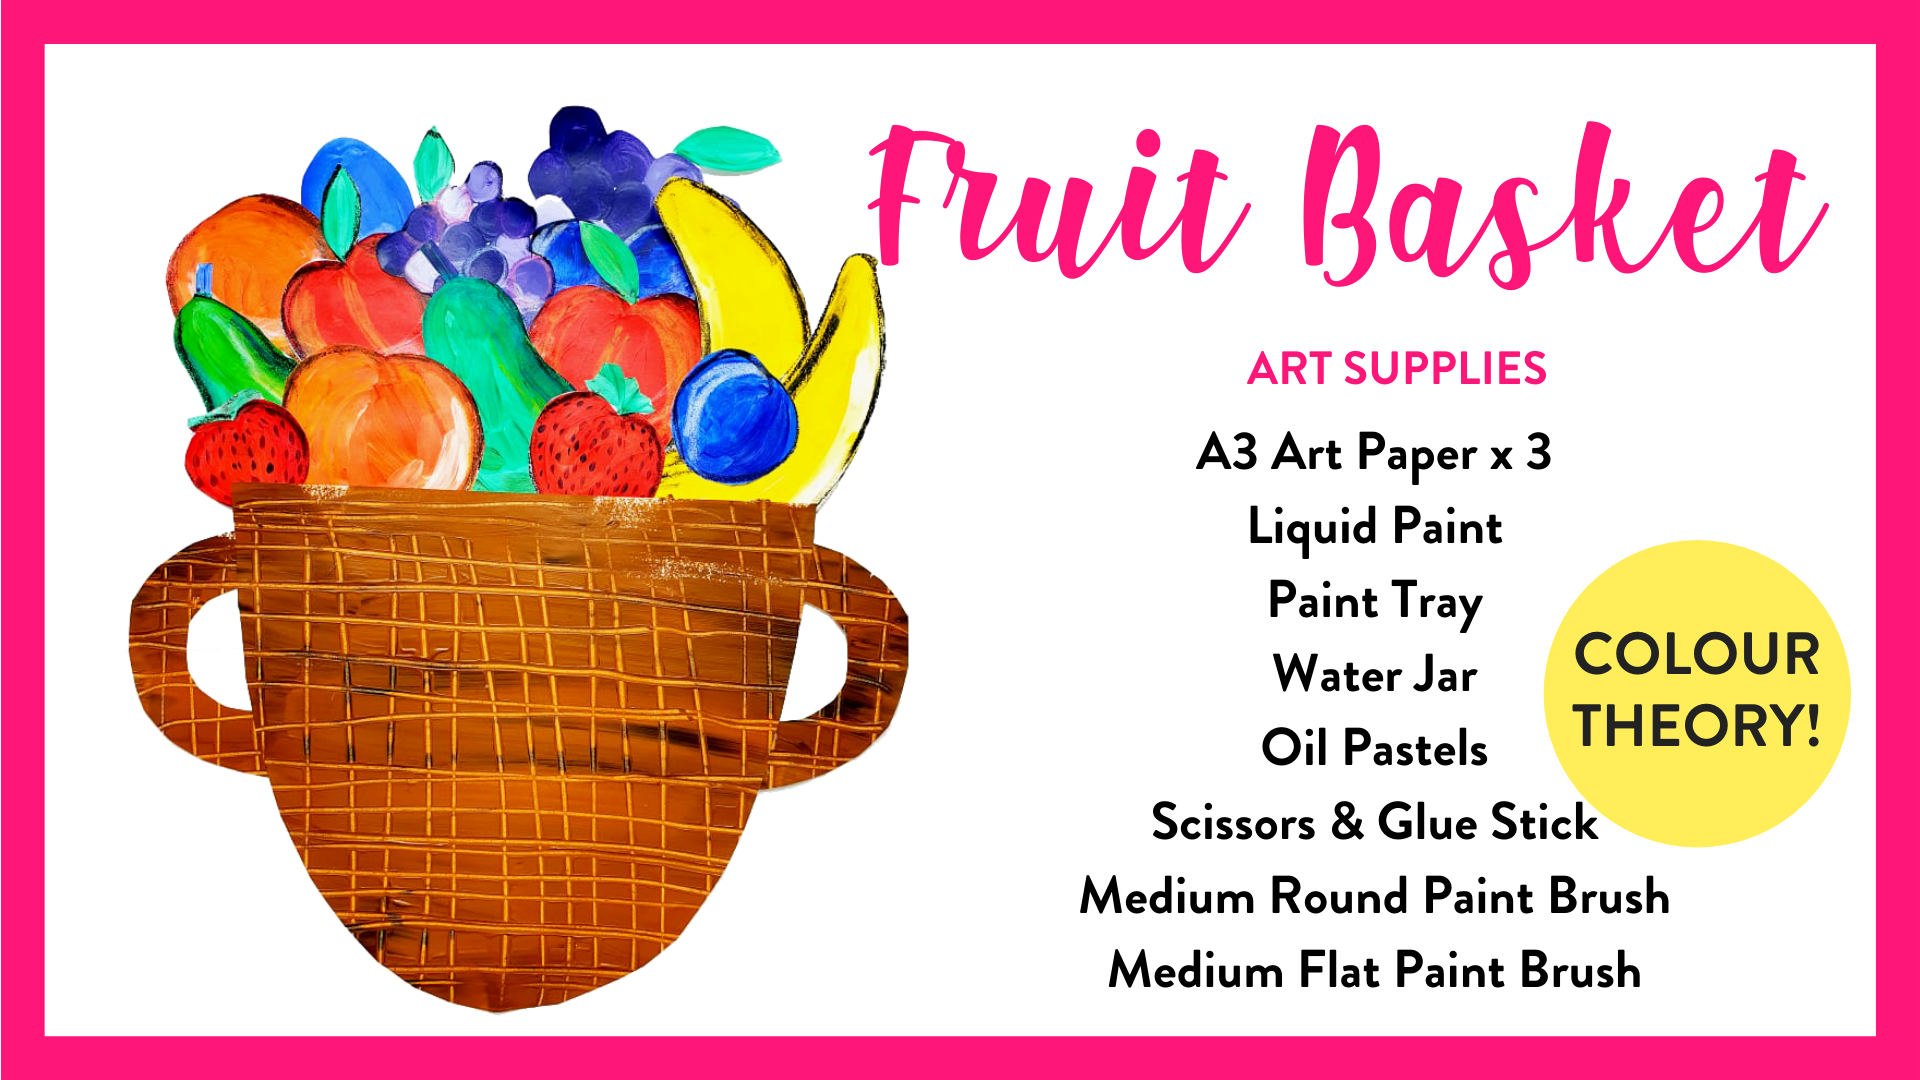
Painted Fruit Basket Art Lesson
Nov 08, 2022THE BASKET
Step 1. Create a big fruit basket by painting A3 art paper with brown paint. Before the paint dries use the end of your paint brush to scratch horizontal and vertical lines for a wicket basket effect. Leave to dry.
Step 2. To create your basket cut a strip of paper to use for two ‘C’ shape handles. Draw a big ‘U’ shape on the remaining paper for the basket and cut out. Assemble the handles and basket together with glue.
THE FRUIT
Step 3. While the basket is drying stat on your fruit. We found red strawberries and apples, green pears, yellow banana’s and had them sitting on the table while we drew simple outlines in crayons. This is a good time to practice simple observational drawing and ask your Little Artists to select the correct coloured fruit for the correct primary/secondary colour. We then squeeze a little bit of primary/secondary coloured paint in the correct colour wheel location and when about painting them. Leave to dry and cut them out.
Step 4. For some extra tone and texture add black oil pastel outlines and smudge with your finger.
ARRANGE YOUR FRUIT
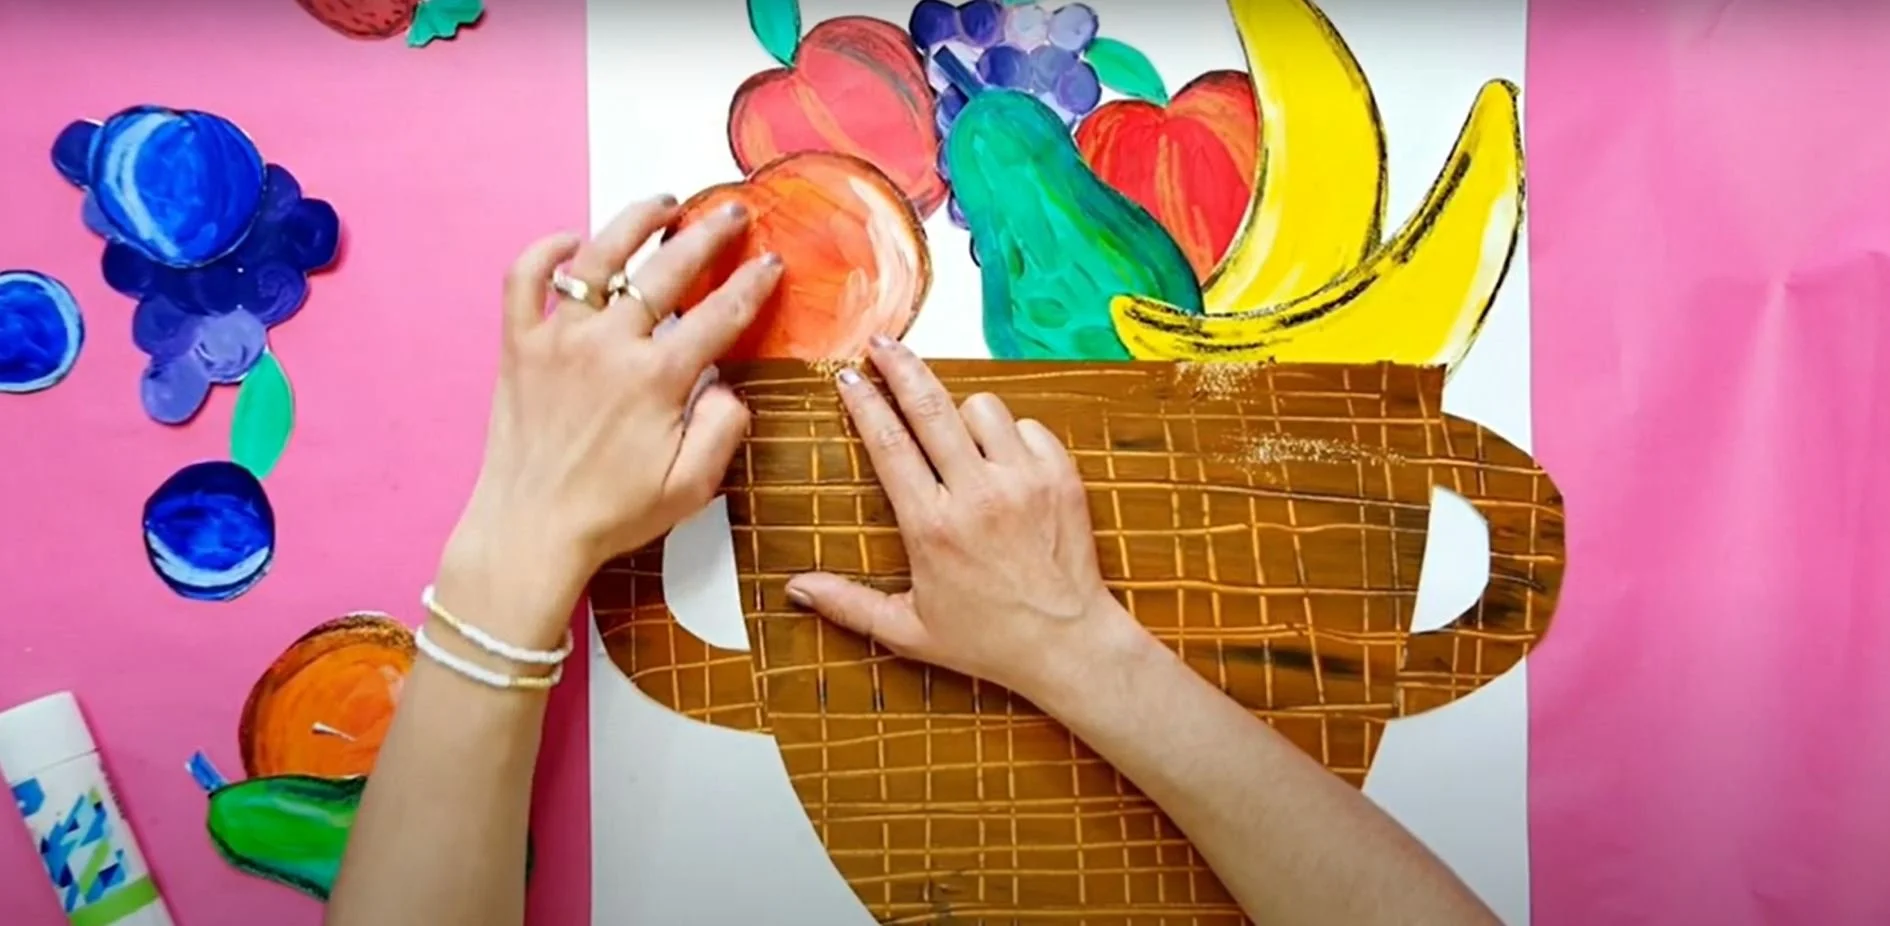
Step 5. Now the fun part! Place your fruit in a arrangement onto top of your basket. I glued the bottom pieces one at time to the basket as I went.
Want to give this project a try? I’d love to see what your Little Artists create. For a special shoutout on social media tag me on instagram @art_with_georgie or send a picture through to me [email protected]
For the full length, easy-to-follow video art lesson sign up to my Online Art Club for Kids. You’ll find this project and over 50+ more at your finger tips for easy art at home. This lesson is also part of my ‘Paint Party’ Art Bundle.


