Three art projects to learn about the Colour Wheel
Oct 22, 2022“Did you know three colours can make every other colour in the world?!”
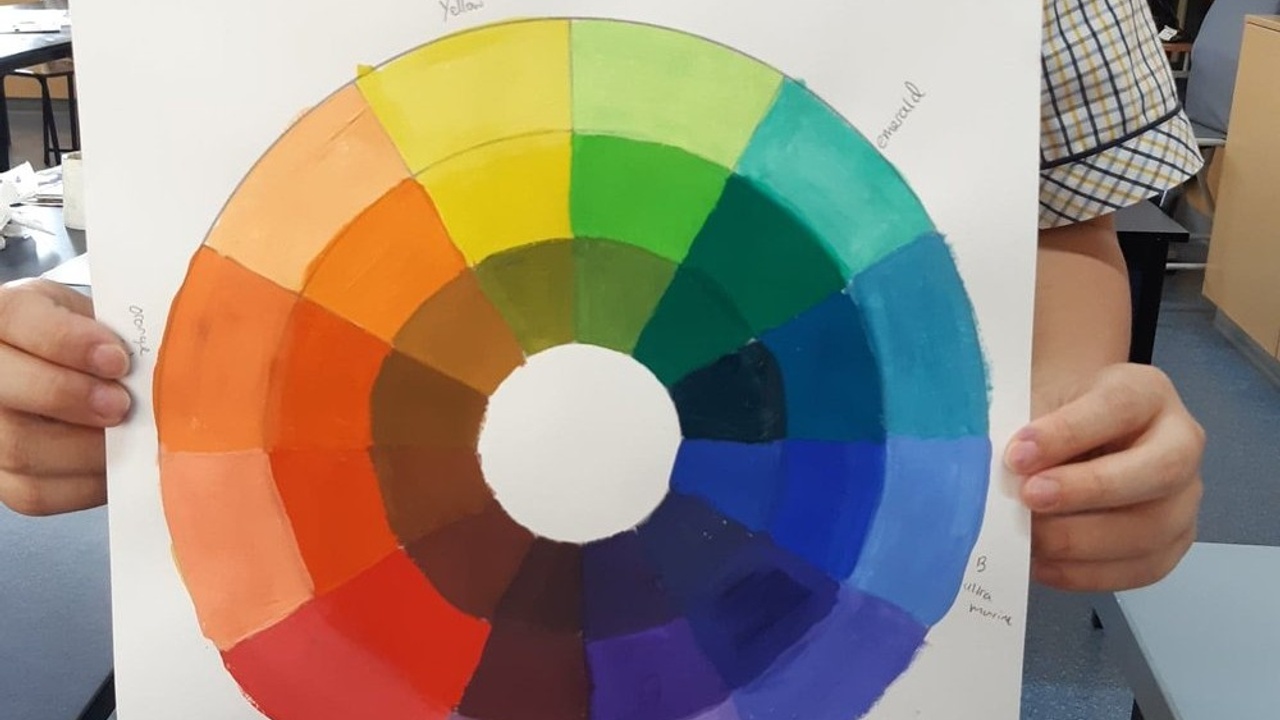
“WOW!” - is often the response when we start a new lesson on the colour wheel. It’s pretty amazing that red, yellow and blue holds the ticket to the vast rainbow spectrum of hues. A colour wheel is a tool used in art and design to show colours and their relationship to each other.
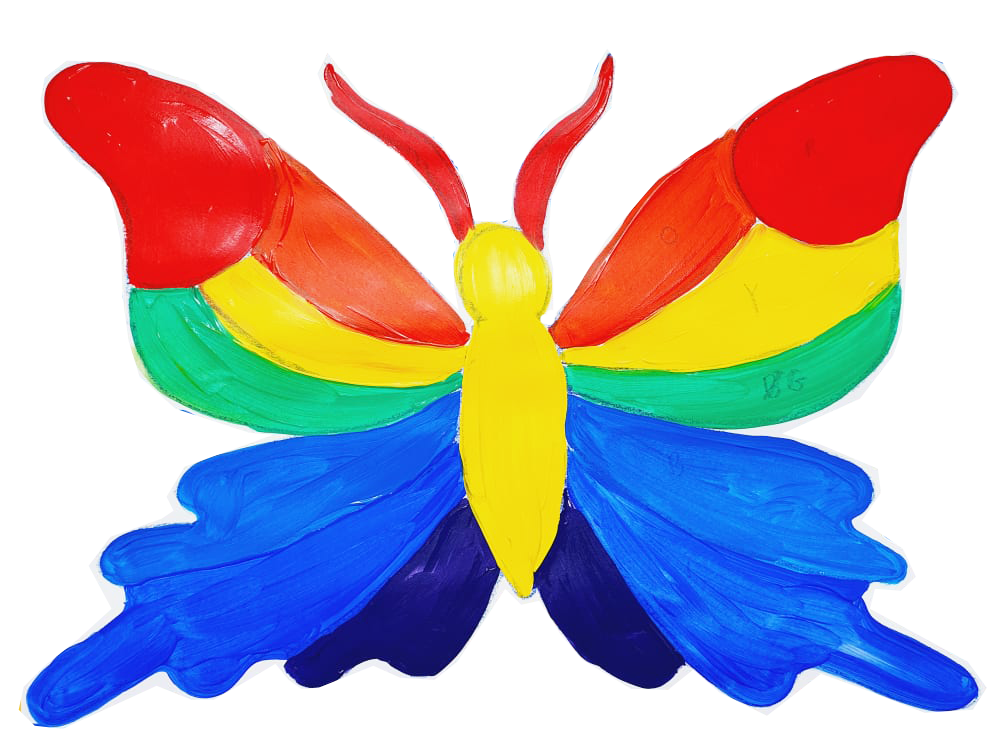
We have been learning about primary and secondary colours inside my Art Club recently. Painting, colouring or finding objects is to place in a colour wheel great way to introduce children to the concept. You can print out copies of my template below for each child to colour or just pull out your paints try a Painted Fruit Basket or Colour Wheel Butterfly (keep scrolling!).
Find THREE art projects to help your child learn about the colour wheel and produce some gorgeous art too.
-
MAKE YOUR OWN COLOUR WHEEL
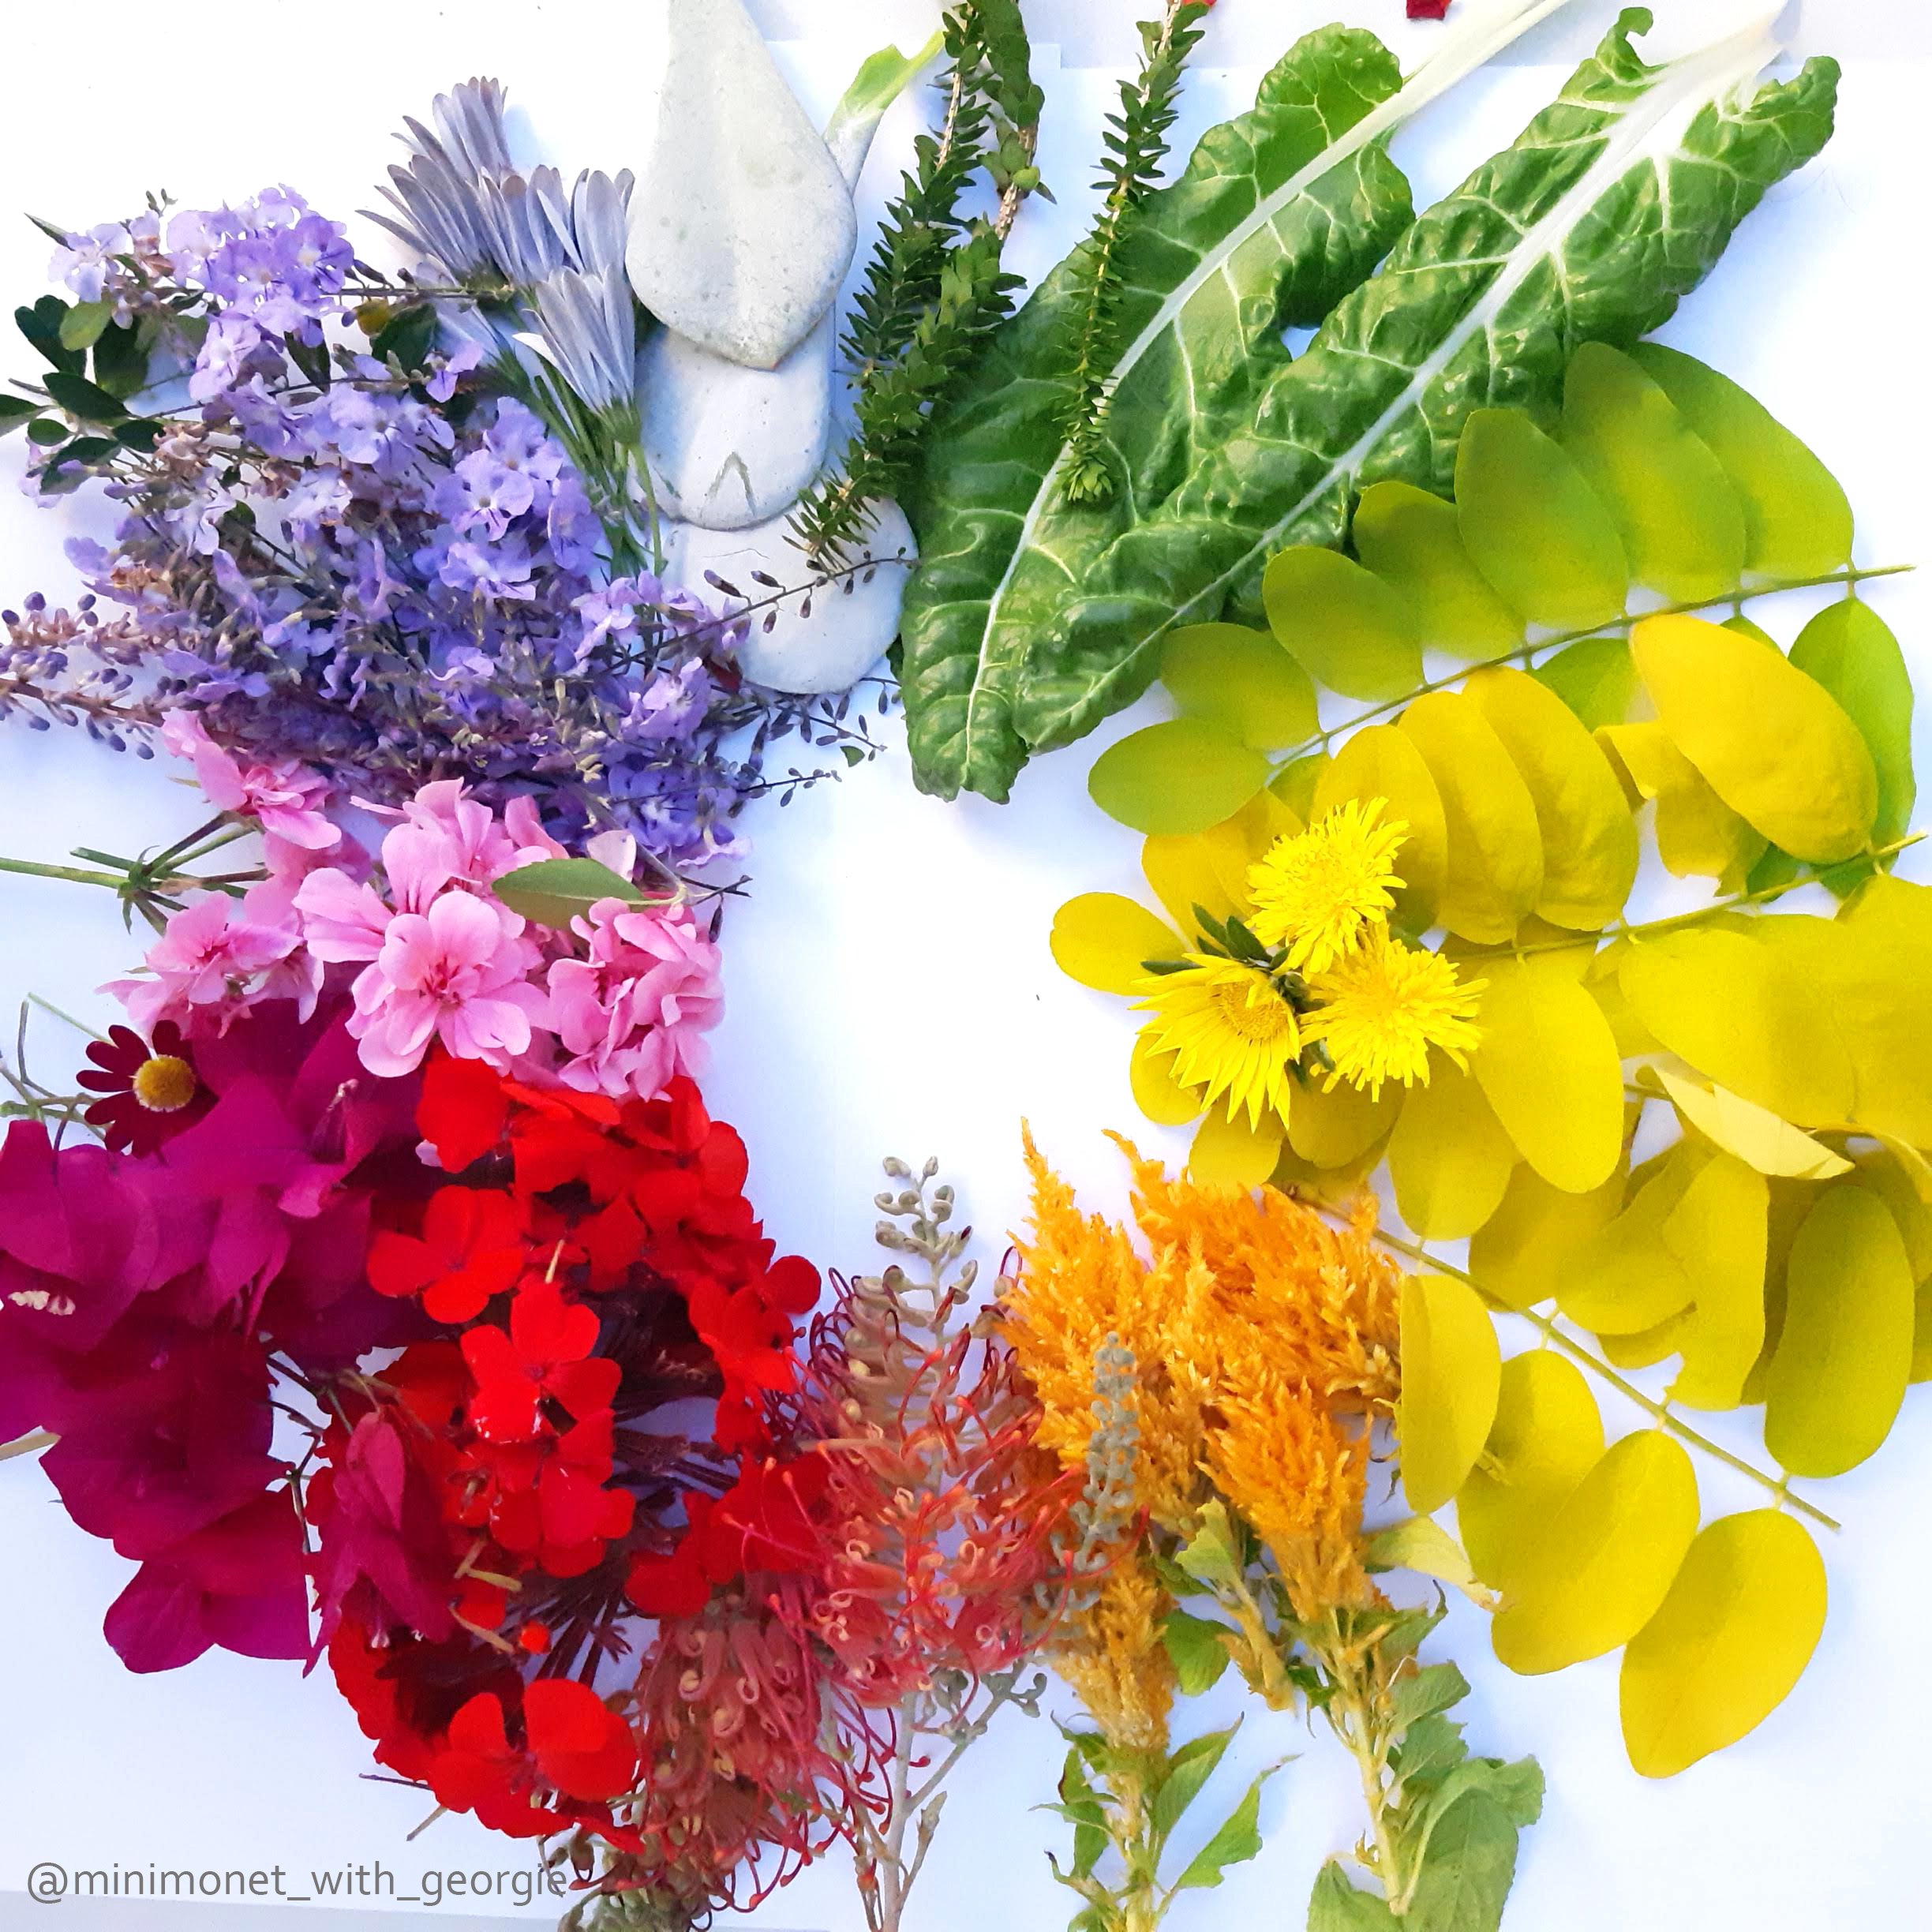
Kid’s often learn kinaesthetically (by doing), so this action based activity is a great way to instil the position of colours on the colour wheel and also involve abit of ‘hunt’ or ‘search’. I love creating a Nature colour wheel during summer or spring, these colours are dependent on what your find rather than strictly a correct colour wheel placement. OR you can find found objects/toys around the house and place them accordingly.
2. PAINT A FRUIT BASKET
You can find a piece of fruit for primary and secondary colours! Either raid your fruit bowl, or take a trip to the shops to find what you need. I recently designed a ‘Fruit Basket’ painting lesson with this idea in mind. Our fruit baskets were BIG. Kids loved the process of painting, cutting and pasting their fruit arrangements and using scratching techniques to make a wicker basket effect. You can find all the lesson steps for this project here.
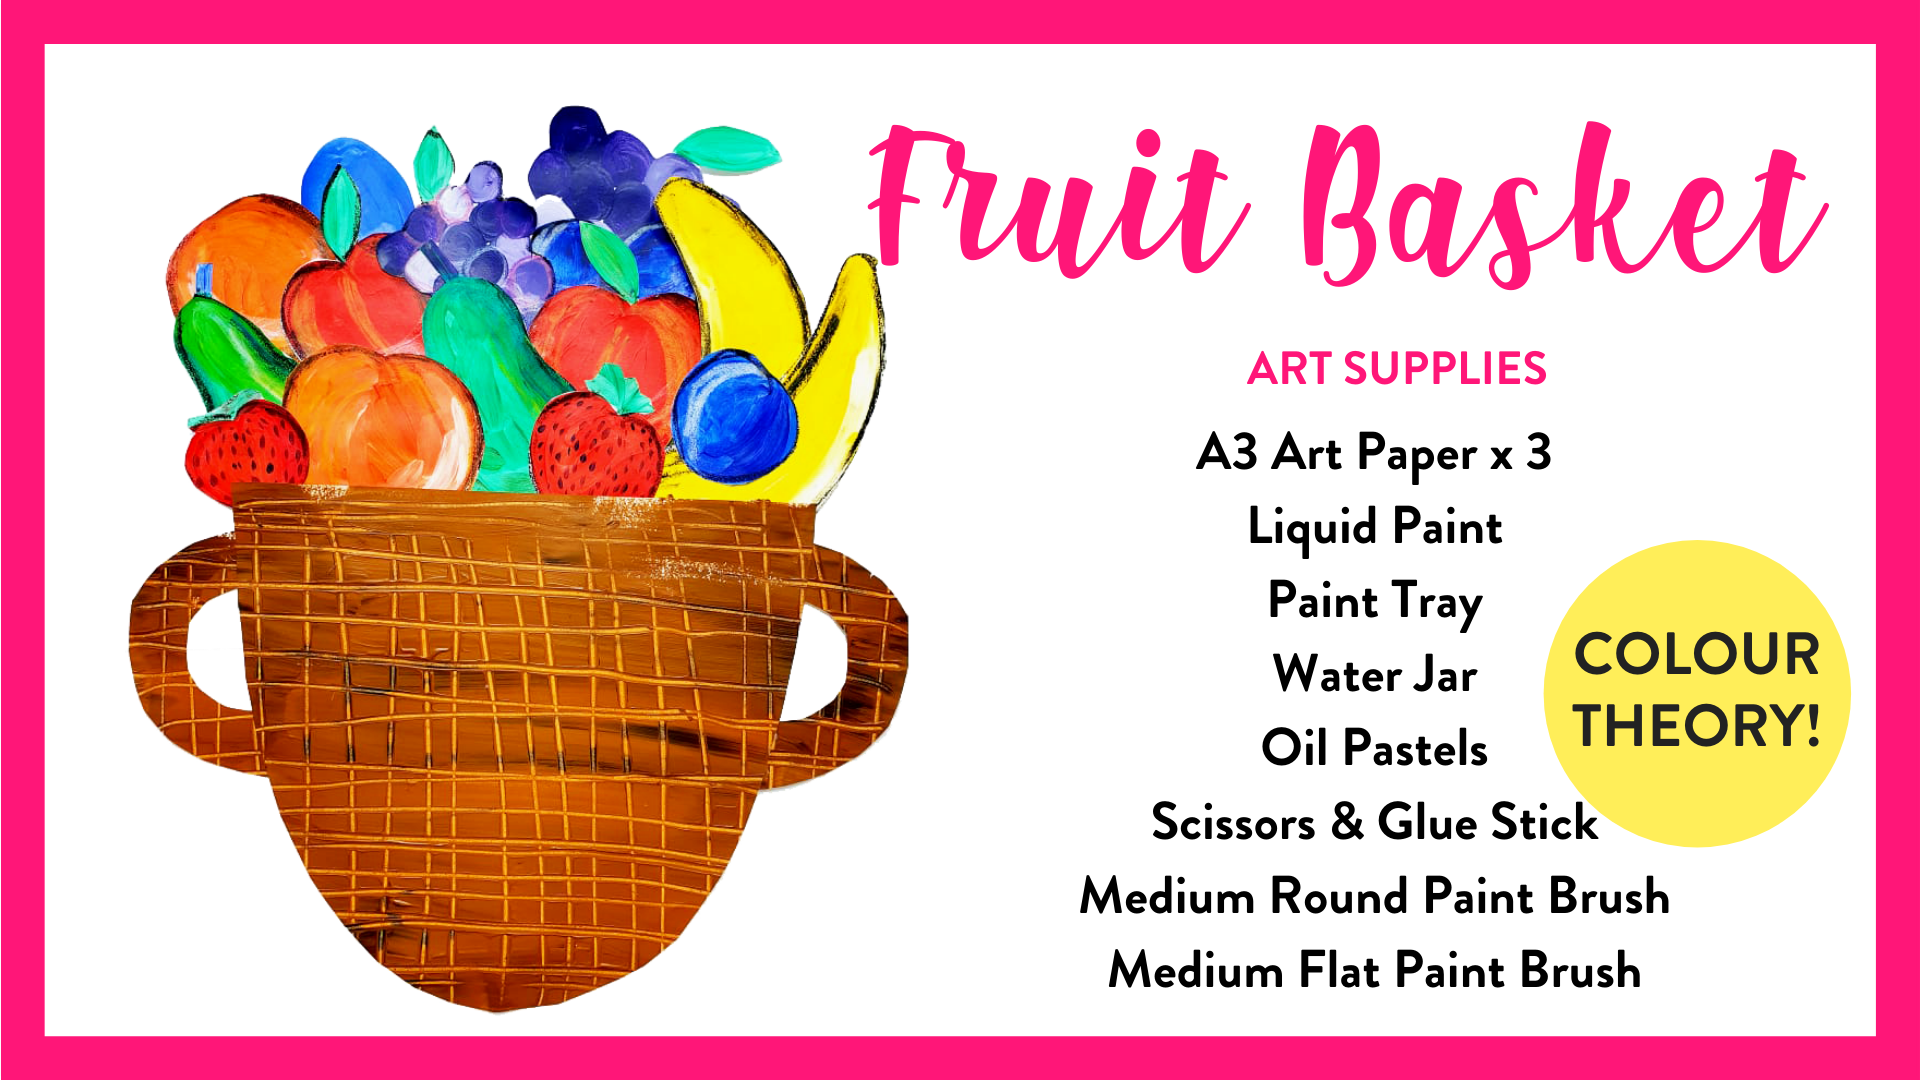
The full length video lesson of this Fruit Basket is inside my Online Art Club for kids. You can check it out and access 50+ more video art projects to do at home over here.
3. PAINT A BUTTERFLY
Step 1. Butterflies bring ALL the colours of the rainbow and therefore are a great option for colouring or painting with primary and secondary colours. In this Art Club lesson we draw two different BIG A3 Butterfly designs, then kids decide which one they’d like to paint. Each butterfly wing is divided into SIX different sections - one for each colour.
Step 2. Squeezing the primary/secondary paint on our paper plates in the correct position is an important part of learning the colour wheel placement. Then we start painting with yellow in the top wing section and make our way down to the final colour. Little Artists can choose what colour they’d like to paint the middle part of the butterfly.
Step 3. Add small painted brush strokes using a small round brush to surround your butterfly. Leave to dry.
Step 4. OPTIONAL. We are loving using POSCA PAINT PENS to add fine patterns and details over painted backgrounds. Here is a perfect opportunity to bring them out add some patterns to each section of the butterfly. You can see the fun effect of adding paint pens vs leaving the butterfly blank in the examples below.
Step 5. Finally, to make out butterfly ‘pop’ add some black paint outlines around your butterfly. You’re finished!
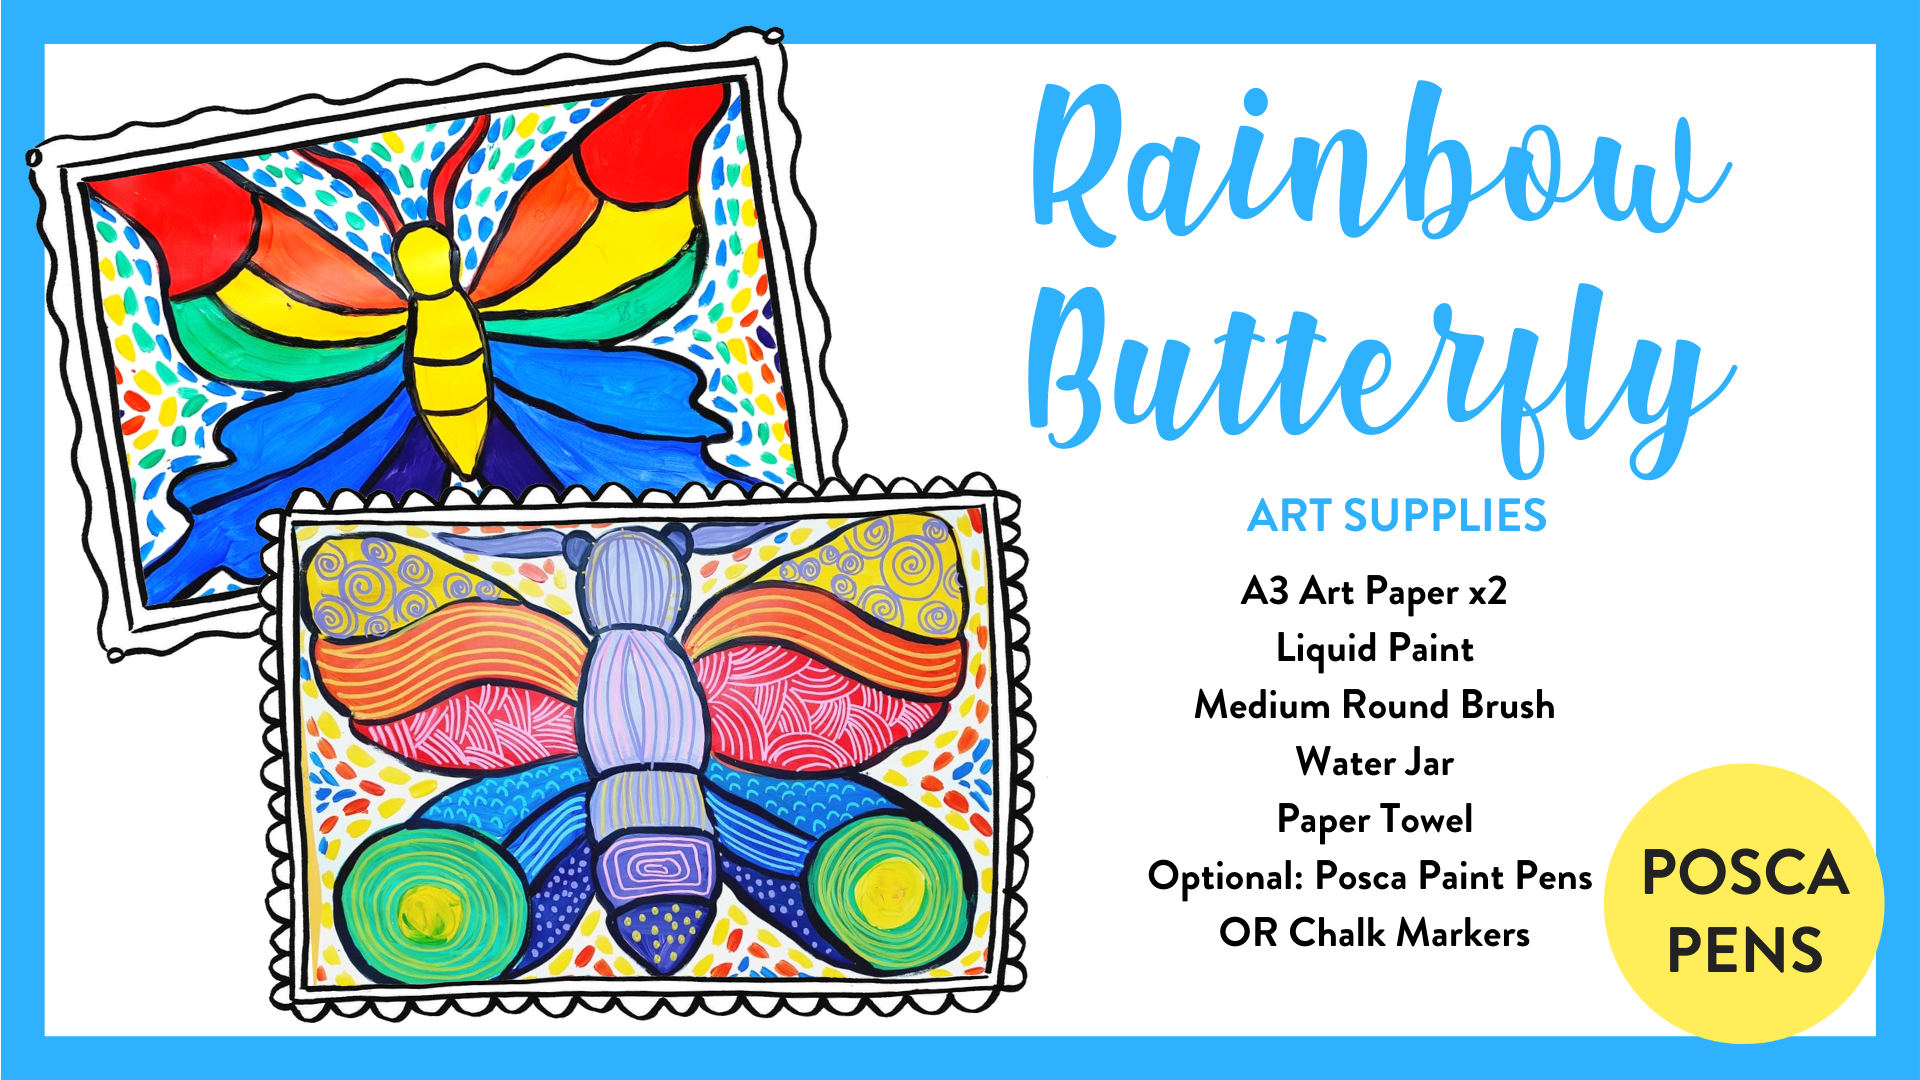
The full length paint-along video lesson of this Colour Wheel Rainbow Butterfly is inside my Online Art Club for kids. All you need to do is set your Little Artist or class up with their supplies and paint along with me. You can check it out and access 50+ more video art projects to do at home over here.


